Day 8 of 31 day challenge : Metallic Nails
For this nail art i wanted to sort of kill two bird with one stone by show you nail art stamping and completing my nail art challenge.
When i first saw the stamping kit i was amazed, it allows you to have fab nails will little effort and little skill is need.
What's in a stamping kit?
Metal picture plate.
(You can get a mass of different picture from spider to flower)
Rubber stamp
Mini scraper
For this tutorial you will need:
- Base and top coat nail varnish
- Base colour nail varnish
- Contrast nail varnish
- Nail art stamping kit

First off undercoat your nails with your base nail varnish
Once dry apply 2 thin layers of your chosen nail varnish
I am using Barry Ms gold instant effects.

Chose a picture from your plate.
I am using an animal print.

Place your plate on paper.
Apply your contrast colour over the picture on the plate.
I am using Barry M Black
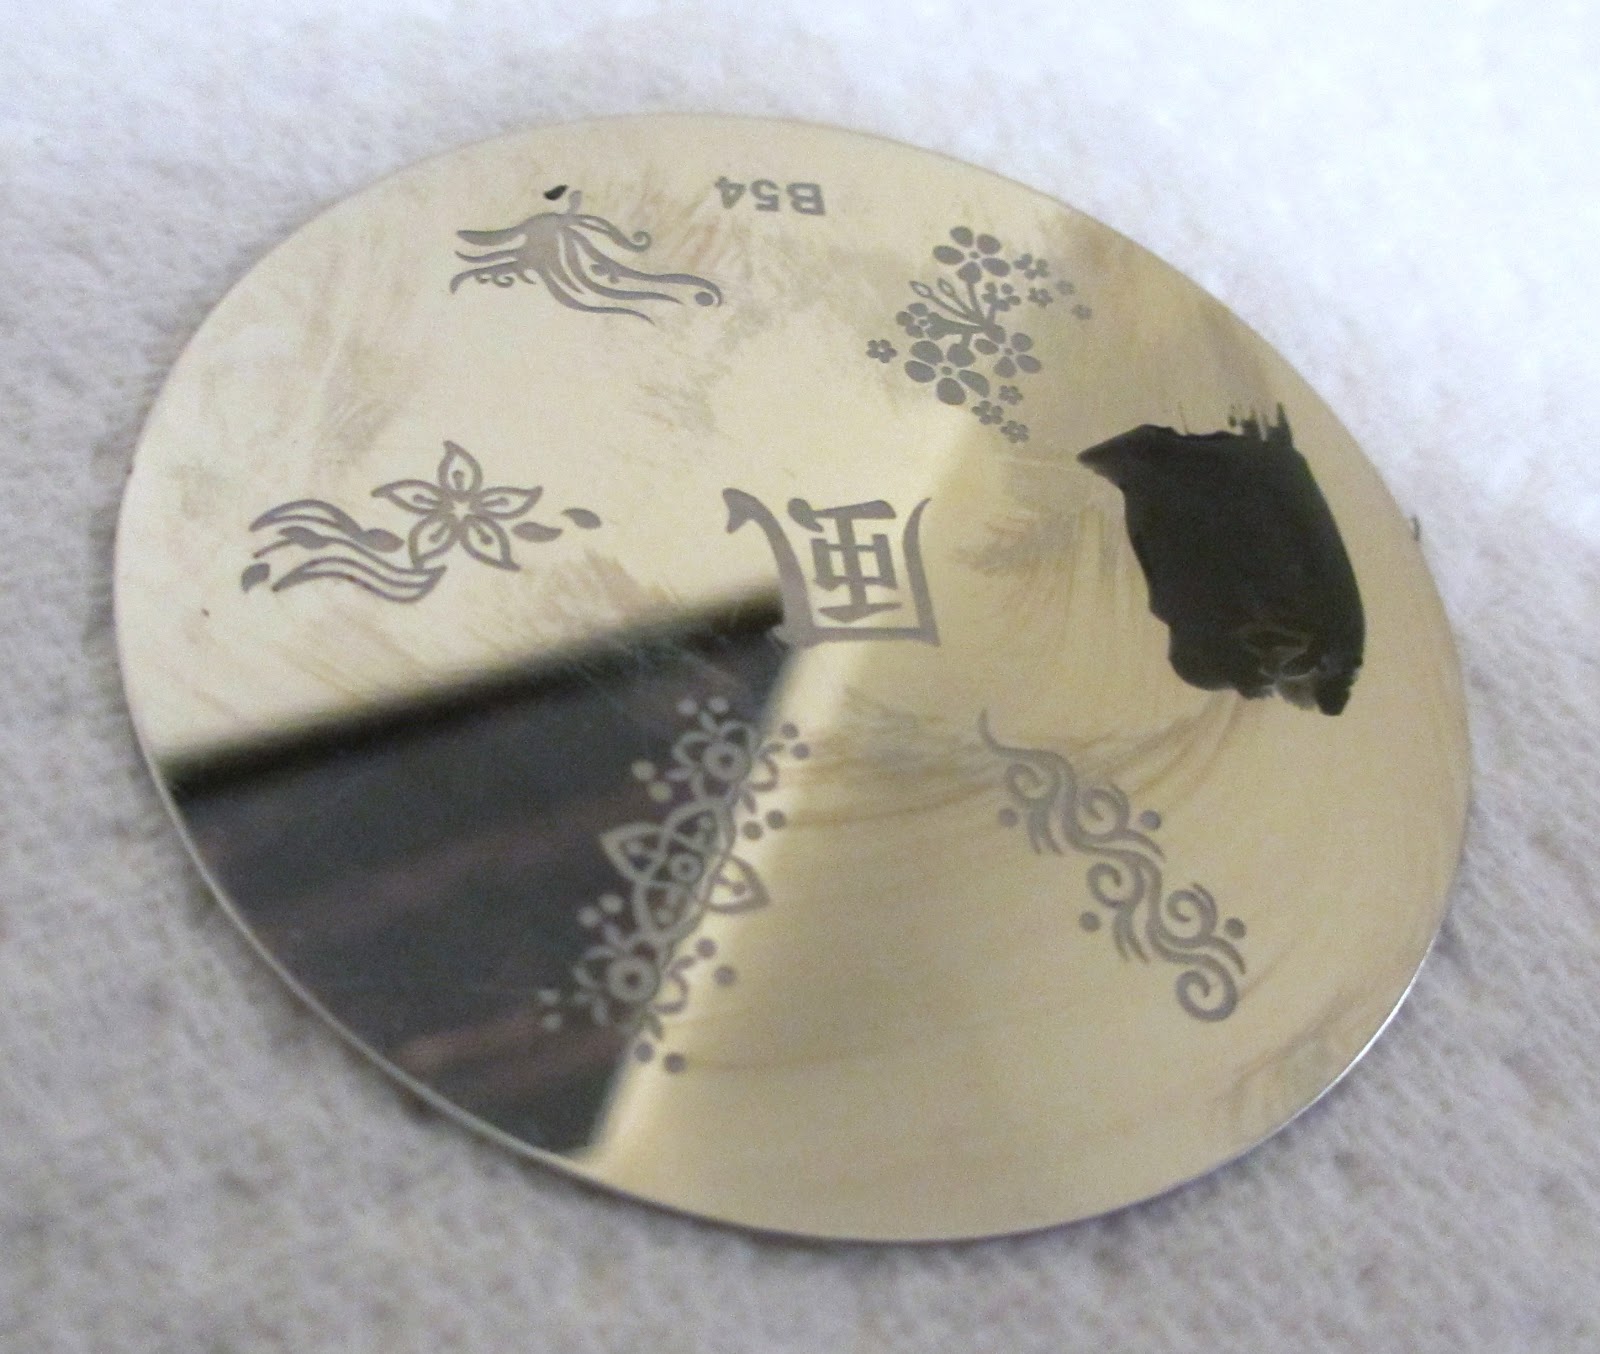
Immediately after use the scraper at an approximately a 45 degree angle and scrap off the nail varnish.
As you can see the paper comes in handy :)

Straight away apply the rubber stamp.
As you can see the picture has transferred on to the stamp.

Take the rubber stamp press and roll on to your nail.
You don't need a mass amount of pressure just enough to get the picture on your nail.
I have applied it in different ways to show you can create a different look.
Half , tip, diagonally, full nail.

Apply a top coat and your finished.

Katie
No comments:
Post a Comment
Let me know what you think :)