Showing posts with label Barry M. Show all posts

Tuesday, 21 May 2013

Beauty Binge #4

OK so we are on the fourth product in the binge bag and no surprises its another nails varnish.
I just cant help myself i think i may have a nail varnish addictions but.. doesn't everyone? 


This is not your standard nail varnish this is Barry M texture effects.. oh that sounded like a marks and Spencer's add. Anyway I usually go to great lengths buffing, polishing and undercoating my nails to ensure my varnish is smooth and evenly spread however with this nail varnish it would be a complete waste of time.
The nail varnish contains a gritty material like fine sand which when applied to your nails leaves a dull textured effect hence the name. The texture looks a bit like the retro chewing gum called golf balls, can you remember them?
You never know maybe that's where Mr Barry Mero got his inspiration... i doubt it!
With the nail varnish containing the grit its sort of like having very light sand paper on your nail, its quite an unusual feeling i must admit.
 
Barry M have brought out 4 spring/summer colours a pale pink, canary yellow, mint green and the one i purchased called Atlantic Road which is a pastel blue colour at £3.99 per bottle.
 
Maybe a one to wear this bank holiday weekend?
 
Katie
X


Sunday, 19 May 2013

Beauty Binge #2

As you know i went a little mad in Superdrug this weekend, but who can blame me it was 3 for 2 on all beauty products , you would have done the same right?
 
RRP £3.99

 
As a collector of all things nails i wanted to see if the Barry M Gelly nail varnish was up to the hype. I have read several blogs raving about this product and well i wanted my say too.
I am pleased to say i wasn't disappointed, the nail varnish was easy to apply with the thin brush which enabled me to get right to the edge of my nail. 
I applied two thin layers of the pomegranate colour to my nails which dried in an instant leaving my nails with a super high gloss shine. No top coat needed.
I have had a lot of UV Gel manicure which always boast a fantastic shine and this nail vanish looks just as good. The picture really doesn't do it justice.
I found the nail varnish has been pretty hard waring (so far), even after doing the dreaded house work choirs.
 
I would defiantly recommend it if you have a little spare cash, it is a cheaper than a UV gel manicure after all.
 
Katie
X

Saturday, 27 April 2013

Glitz and Glam

Wow... I think i have died and gone to glitter ball heaven.
 
My wonderful boyfriend bought me this amazing nail varnish as he knows i am an addict, OK hes fuelling my addiction but i am not complaining.
 
 
Barry M have brought out a rang of fab glittery nail varnishes and this is one of them it is called Rose Quartz and at £3.99 its a steal.
The bottle contains very small specks of silver glitter which changes colour in the light and large pink hexagon flecks.
I applied two think layers over the top of the Essie We're in this together to create a very girly look, which i love, well which girl would?
 
I will be using it in future nail art tutorial i am sure so keep your eyes peeled.
 
Katie
x

Tuesday, 8 January 2013

Bumble Bee Nail Art Tutorial

Day 3 of 31 day challenge: Yellow Nails
 
This is the first time i have tried this so i hope it has turned out alright.
 
 
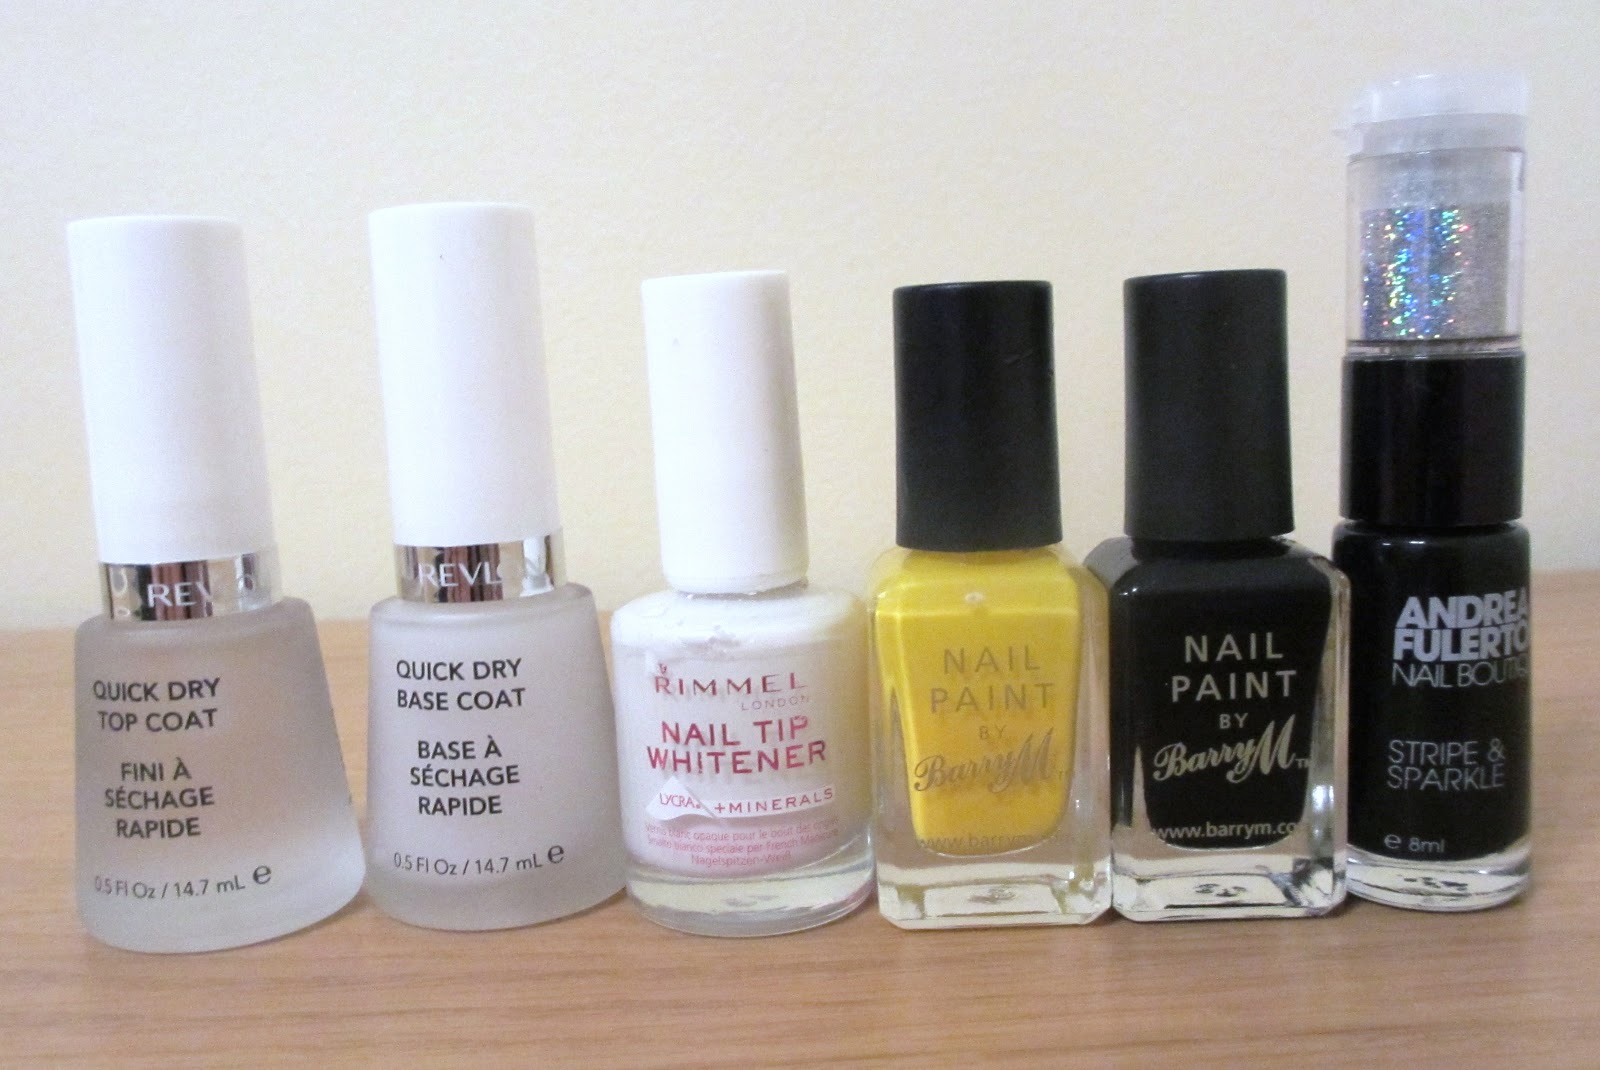
For this tutorial you will need:
- Top and base coat nail varnish
- Yellow nail varnish
- Black nail varnish
- White nail varnish
- Black nail art pen
- Dotting tool


Sunday, 6 January 2013

Lady Bird Nail Art Tutorial

I am kicking off Day 1 of the 31 day challenge (Red Nails) with the Lady bird AKA Lady bug Nail art design.
Its a simple, cute, easy little nail art design to ease me in to this mammoth task.

Why not join me in the challenge?
Find out more about the challenge here!
 
 
For this tutorial your will need:
- Base and top coat nail varnish
- Red nail varnish
- Black nail varnish
-White nail varnish
- Dotting tool
-Black nail art pen
 
 
Revlon Base and top coat, Barry M black and retro red,
Virgin vie White, Andrea Fulerton nail art pen.

Saturday, 5 January 2013

Ombre Faded Nail Art Tutorial

As Ombre hair is in at the moment i thought why not take that look and put it on my nails.
 
I decided to give my ombre effect a glittery finish as i love a bit of sparkle, well which girl doesn't?
 
For this tutorial you will need:
- Base and top coat
- White nail varnish
- Two different shade of the same colour
- Cosmetic make up sponge
 
Revlon Base and Top coat, Models Own Dancing Queen, Barry M mint Green,
Gosh Ocean, Virgin Vie White
 

Splatter Nail Art Tutorial

 Splish, Splash , Slosh...
.....its messy but someones got to do it :) 

Splatter nails is arty and can get very messy which is why i think i like it so much.
 
I have had so much fun with this nail art design it took me back to my primary school days.
 
A word of warning before starting removal all hand/wrist jewellery and please use paper under your hand to protect the surface.


For this tutorial you will need:
- Base and top coat nail varnish
- White nail varnish
- A Selection of 3 colours
-  Drinking Straw
- Paper
- Tape i.e Masking, scotch

Masking tape, Revlon top and base , Models Own Indian Ocean,
Barry M Strawberry Ice cream and vivid purple,
Virgin Vie White, Drinking Straw.


Wednesday, 2 January 2013

Monarch Butterfly Nail Art Tutorial

The monarch butterfly is such a lovely nail art design.
Its so pretty people cant keep their eyes off my nails.. including me.
Its a tough one to crack and i don think i have fully mastered it as of yet but practise certainly does make perfect.
 
If your new to the nail art scene you may find it a little difficult as i did when i first tried it.
 
Have fun!
 
For this tutorial you will need:
- Base and Top Coat Nail Varnish
- Base Colour Nail Varnish
- Black Nail Varnish
- Black Nail Art Pen
- White Nail Varnish
- Dotting Tool
- Paper Plate
 
Revlon Base 995 and Top coat 960, Models Own Jack frost, Barry M Black,
 Barry M Mint Green, Virgin V White,  Andrea Fulerton Nail Art pen
 

Tuesday, 1 January 2013

Simple Flower Nail Art Tutorial

To welcome in 2013 i though i would create a cute simple floral nail art design with a little sparkle.
I love this nail art design it is one of my favs - A hit all year round :)
 
 
For this tutorial you will need:
- 2 Different size Dotting tools
- Base colour
- Three contrasting colours
- Base and top coat
- Paper plate